Sentry
Sentry is a developer-first error tracking and performance monitoring platform that helps developers see what actually matters, solve quicker, and learn continuously about their applications.
Databend provides integration with both Cloud and self-hosted Sentry solutions. The following tutorial walks you through the integration process.
Tutorial: Monitor Databend with Sentry
Step 1. Deploy Sentry
To deploy an on-premises Sentry, follow the instructions: https://develop.sentry.dev/self-hosted/
This tutorial uses the Sentry service on the cloud. To sign up an account for Cloud Sentry, go to https://sentry.io
Step 2. Create a Sentry Project
Once you're logged into Sentry, create a Sentry project for the Rust platform to start. For how to create a project on Sentry, see https://docs.sentry.io/product/sentry-basics/integrate-frontend/create-new-project/

Step 3. Set Environment Variables
Get the DSN (Data Source Name) of your project. For what DSN is and where to find it, see https://docs.sentry.io/product/sentry-basics/dsn-explainer/
Set environment variables.
- To enable the error-tracking feature, run the following commands:
export DATABEND_SENTRY_DSN="<your-DSN>"
- To enable the performance monitoring feature, run the following commands:
export DATABEND_SENTRY_DSN="<your-DSN>"
export SENTRY_TRACES_SAMPLE_RATE=1.0 LOG_LEVEL=DEBUG
Set SENTRY_TRACES_SAMPLE_RATE to a small value in production.
Step 4. Deploy Databend
Follow the Deployment Guide to deploy Databend.
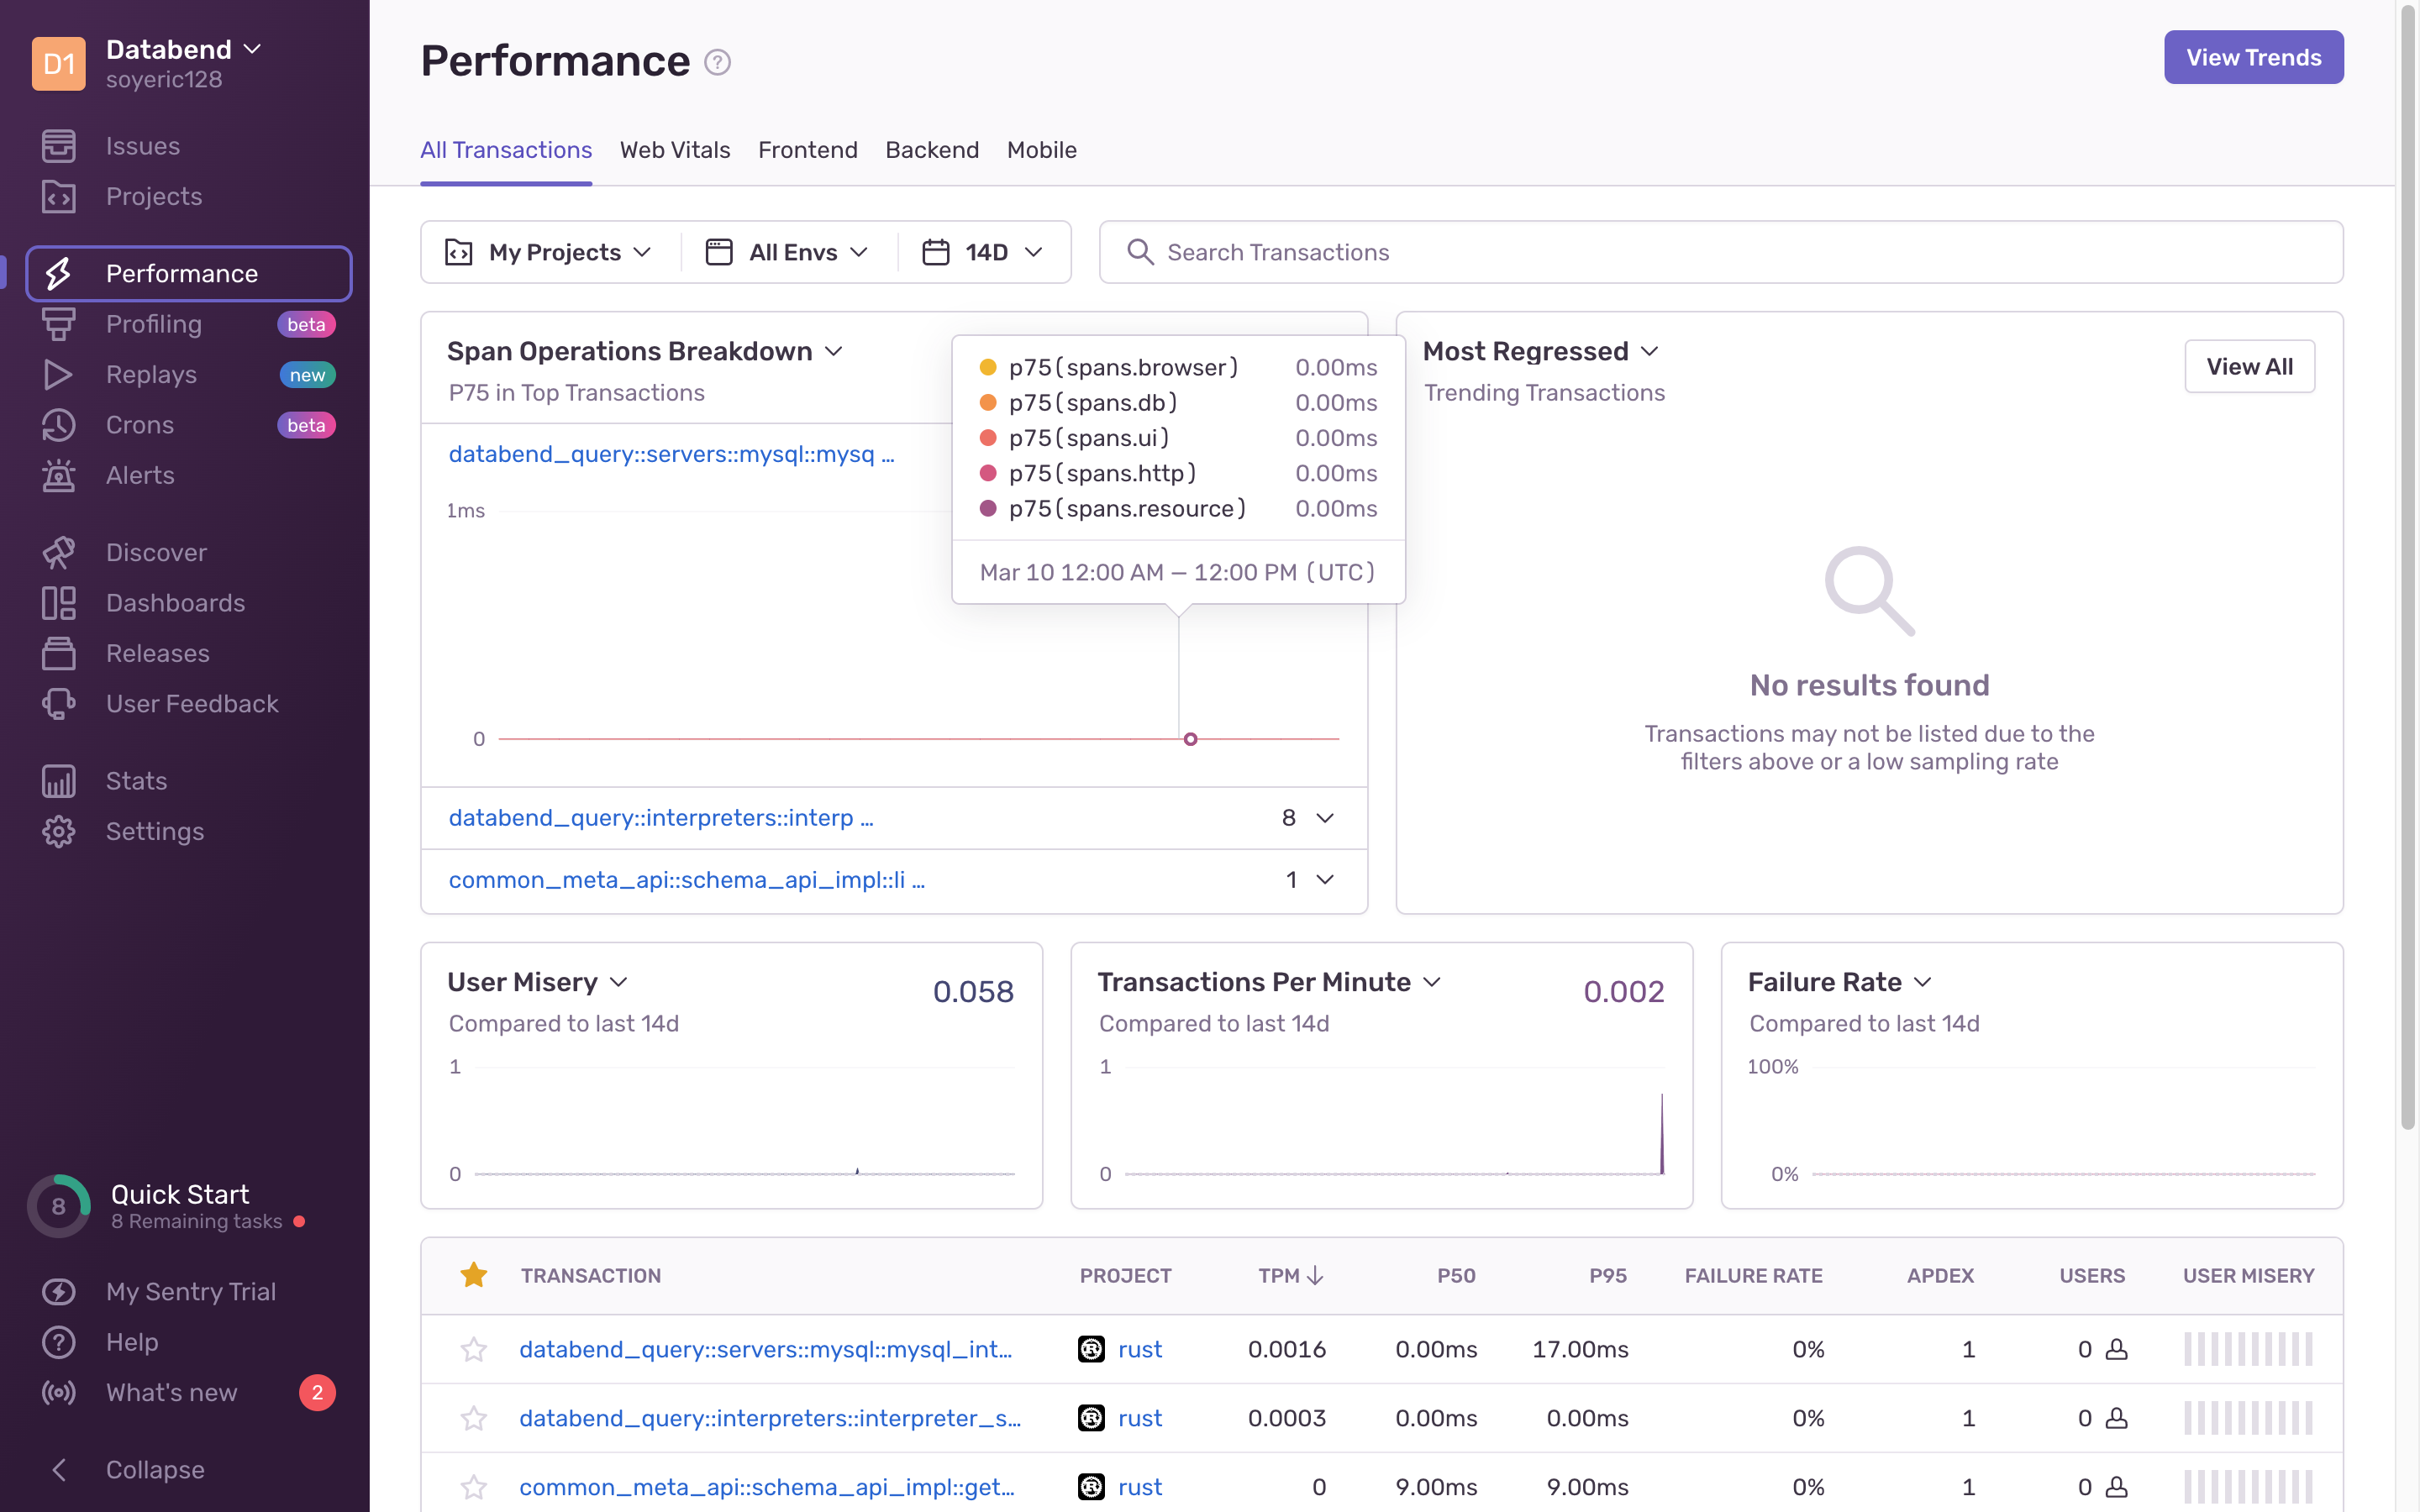
You're all set now. Check the pages on Sentry for alerts and performce information.